Moving to a New Hosting Provider
It was around 3AM yesterday when I suddenly woke up with a question on my mind regarding the performance of my website – how is it that my website is slow on the first access after an x number of minutes? So, I went to look for answers and found that the free WordPress hosting of Azure with the free MySQL Database is not ideal for production level site. Reasons can be found on this post. This made me to think to use the paid version of the database. However, looking into the price of their database, the lowest priced tier is about $24/mo. (just for the database) and for a website that is used as a personal blog without any income being generated out of it, I do think that price is too much.
I decided to make a switch to a different hosting provider – 1&1 IONOS – currently, they have a package deal for WordPress hosting – $1/month for the first 12 months:
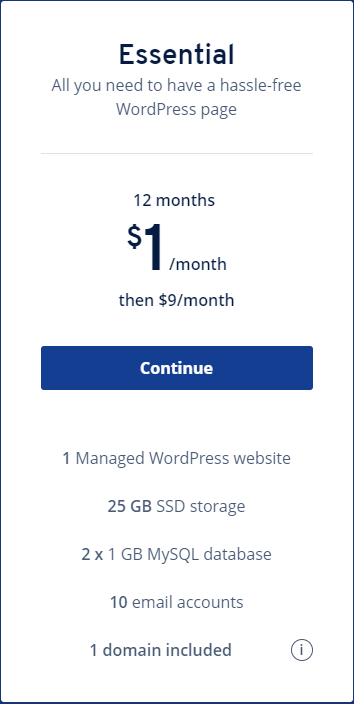
This is quite a good deal – apart from getting my website hosted, I get to have my own domain and it is SSL secured. Further, using their service makes your life easier as they come with additional features for managing your WordPress site such as performance and security scans, visitor statistics, and search engine optimization.
So, now, comes the migration. There are quite a number of articles out there that will help you out in migrating your WordPress site to a new host. Generally, you will have two options:
- Migrate your entire site and data
- Migrate your data only
For me, migrating the data only is way easier than migrating your entire site. Furthermore, if you migrate your site, then you will be on your own in managing your WordPress site, i.e. you don’t get the additional features that your hosting provider offers you.
You would have to setup your WordPress site on your new hosting provider. Ensure that you are using their template to get the full benefits of your host.
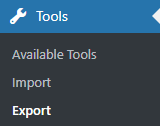
Once your site is setup, you will have to export your data from your old WordPress site. Login to your admin portal. On the sidebar, select Tools > Export:
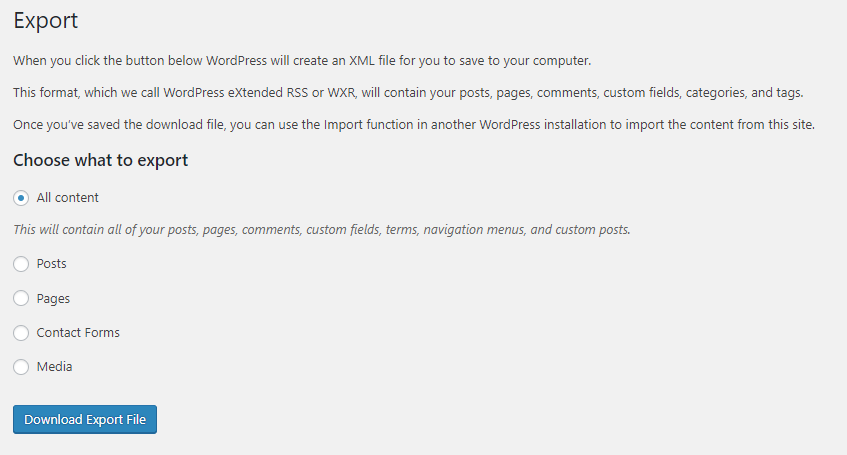
Choose the items you want to export:
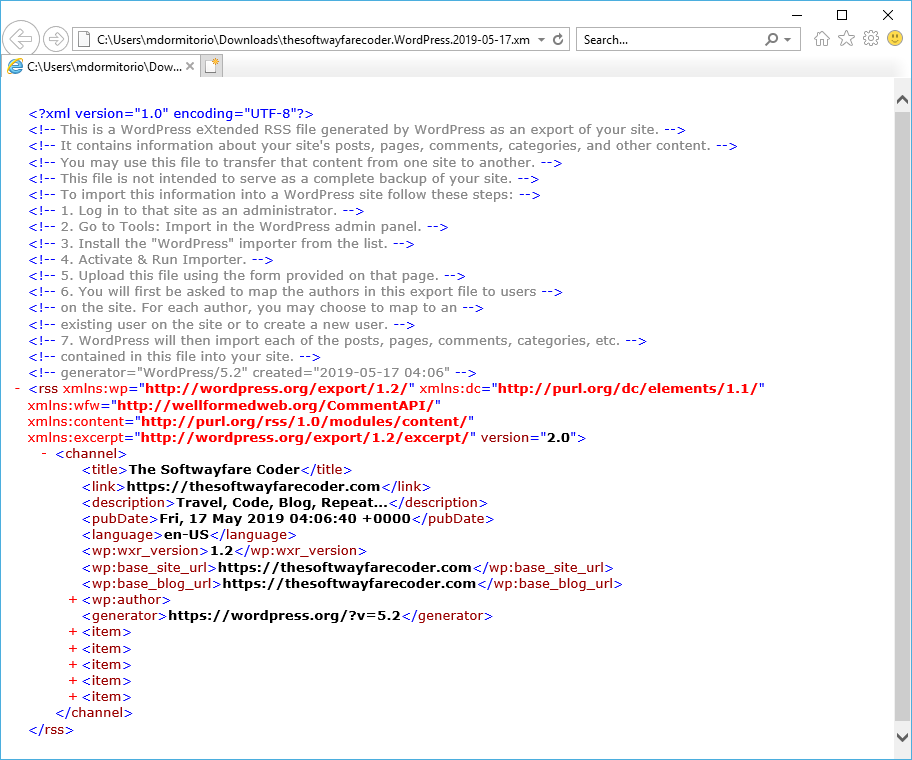
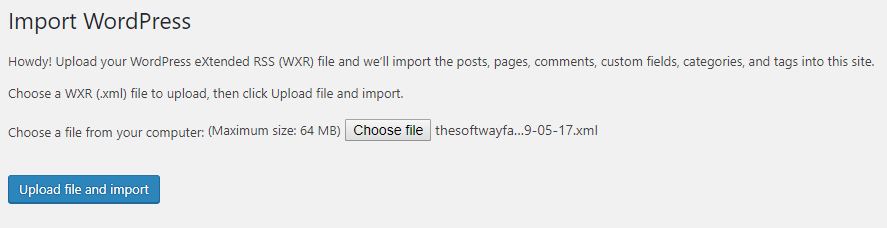
Note that during import you are limited to only about 64MB. Thus, you may have to run import multiple times. What I did is I have to import it per item. If you import a months post and it’s more than 64MB, you can edit the export XML file and separate the posts into multiple files. For example, when you open the XML file, you would get multiple <items>:
You can split your files to separate each of these items. Of course, you need to include the other blocks of the XML file. What I did is I made multiple copies of the XML file (for example, five copies – as I want one XML per item). Then on each XML file, I would just retain one <item> element, and remove all the other items.
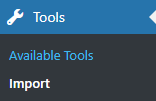
Now, once you have got all those in place, you can import them to your new WordPress site. On the sidebar, go to Tools > Import:
There are a bunch of system to choose from. Of course we select WordPress and click Run Importer:

It will prompt your to choose the XML file that you exported in the previous step. Browse to one of the files and click Upload file and import.
You may have to do this multiple times for each of the files that you exported. Once you imported everything, you would have all your site up and running again.